Vinyarion
Members
-
Joined
-
Last visited
-
Well, that was anticlimactic. New build.gradle: buildscript { repositories { maven { url = 'https://maven.minecraftforge.net' } // maven { url = 'https://files.minecraftforge.net/maven' } mavenCentral() } dependencies { classpath group: 'net.minecraftforge.gradle', name: 'ForgeGradle', version: '4.1.+', changing: true } } apply plugin: 'net.minecraftforge.gradle' // Only edit below this line, the above code adds and enables the necessary things for Forge to be setup. . . . rest of file as normal So much for not editing above the line. BUILD SUCCESSFUL in 14s
-
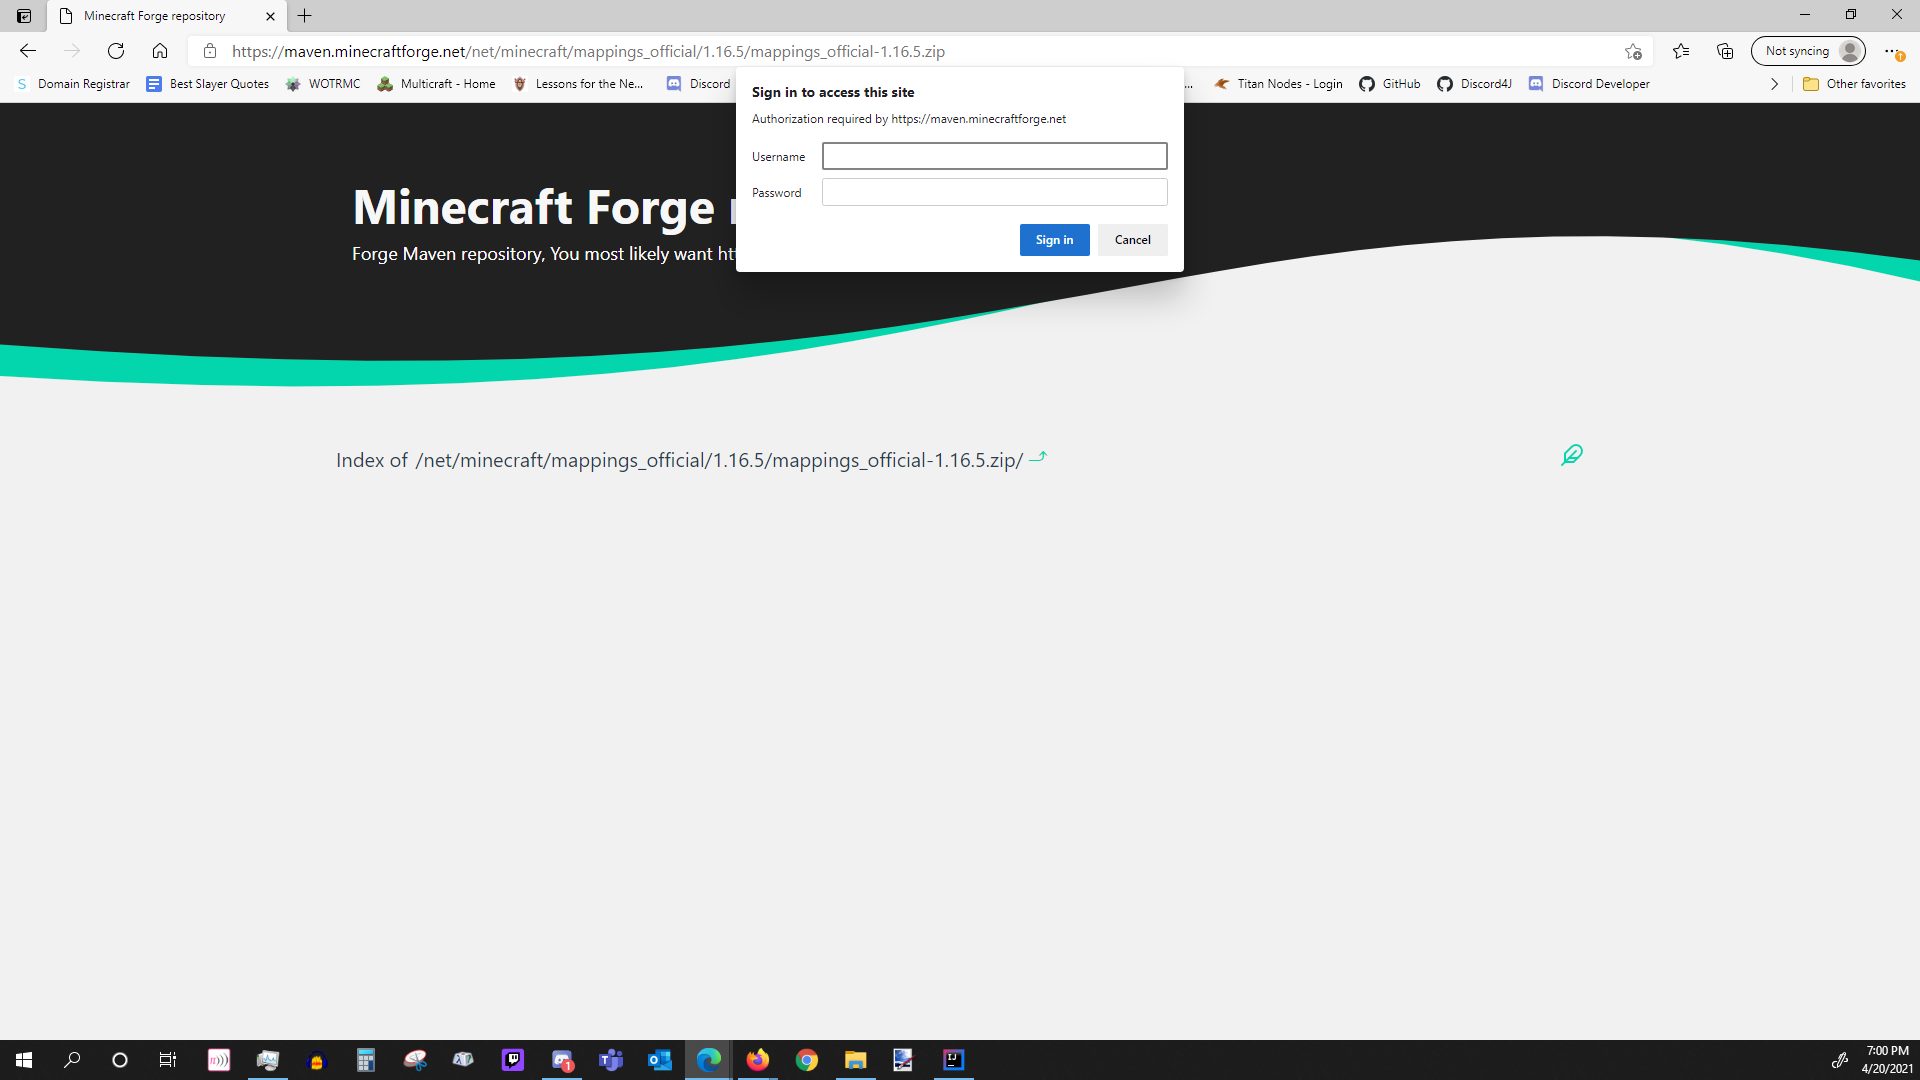
Recently updated my IntelliJ IDEA, and the project imported just fine. Then out of the blue, the gradle refresh fails: This was unexpected, as literally no problems were happening before this. build.gradle: Upon clicking the url of the location searched, I get this: [Screenshot] I have tried manually specifying different gradle versions, Java versions for gradle, and reimported the project several times (deleting the idea project entirely) with the exact same result. Edit: Probably has something to do with the migration of files.minecraftforge.net/maven to maven.minecraftforge.net

-
Part of diesieben's point is that if the mod was written for 1.15, it will not run on any 1.16 version, regardless of whether you add the license thing.
-
You will want to use a custom network channel, for example, NetworkRegistry.newSimpleChannel gives you a SimpleChannel, where you can then register packets and handlers.
-
Mod blocks must have block models loaded from resource packs just like vanilla blocks. The vanilla air model is assets/minecraft/models/block/air.json, and the blockstates are assets/minecraft/blockstates/air.json
-
1. Learn java, it will definitely make everything less confusing. 2. copy the block model that minecraft:air uses
-
Your tile entity could have a flag that starts as true at construction, then in the tick method, if(flag){flag=false;/* check for surrounding blocks */}
-
You need to register the dimension during the event, like this: @SubscribeEvent public static void dimReg(RegisterDimensionsEvent event) { while (sky() == null); } public static DimensionType sky() { ModDimension sky = SKY_DIM.get(); return DimensionManager.registerOrGetDimension(sky.getRegistryName(), sky, null, true); }
-
This is the thing Draco said you should look at, it says exactly what folder the relevant file is in. If it doesn't exist, that might mean you need to create it. Add license="<your license here>" to that file.
-
If it rotates with the player, have you thought of rotating the rendering by -player's rotation?
-
You should probably make a capability that attaches to furnaces, then check if your item is in the output slot of the furnace. The capability stores the previous size of the output stack so you don't generate your effects every tick, only when the stack size of your item increases. To run things every tick, you'll want to subscribe to a `WorldTickEvent` and iterate through the `World.tickableTileEntities`.
-
[deleted]
-
Your java installation is incorrect. You are running this project in the jre inside your jdk. You need to point your IDE to use the jdk instead.
-
`DimensionManager.registerOrGetDimension(ResourceLocation,ModDimension,PacketBuffer,boolean)` returns a DimensionType.
-
This forum only supports the newest versions of Forge, you need to upgrade to 1.15.X (preferably 1.16.X) to recieve support. There's a lot of tutorials out there for 1.15 and later, it's not difficult to find one.